The Ultimate Guide to Building Your Own Gaming PC
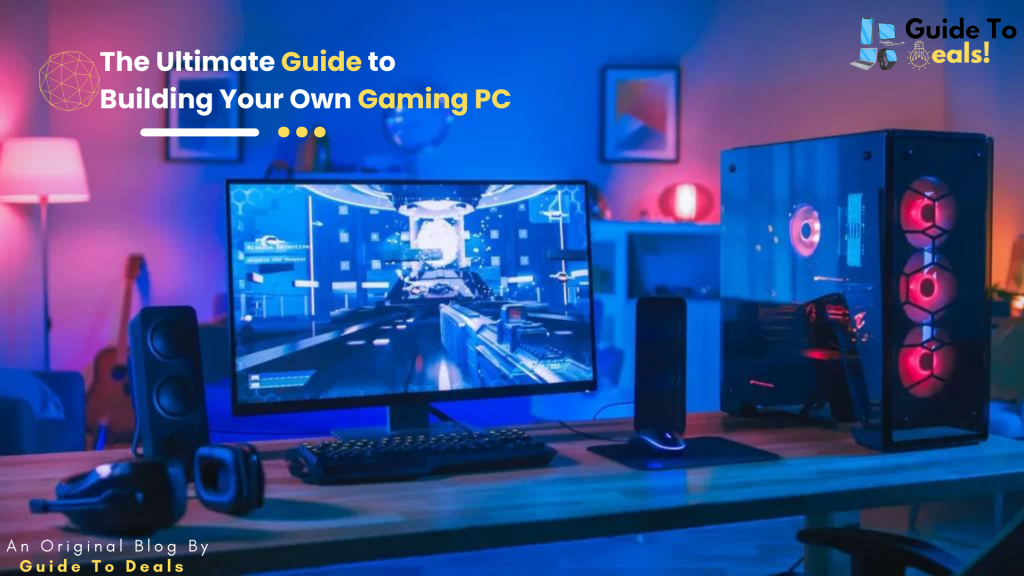
Building your own gaming PC can be an exciting and rewarding experience. Not only does it give you the freedom to customize your machine according to your specific needs, but it can also be a cost-effective way to get a high-performance gaming rig. In this comprehensive guide, we will take you through the step-by-step process of building your own gaming PC, from choosing the components to assembling the final product.
1.Planning and Research:
Before diving into the building process, it’s crucial to plan and research the components you’ll need. Understand your gaming requirements, budget, and desired performance level. Research different CPUs, graphics cards, motherboards, RAM, storage options, power supplies, and cases. Consider compatibility, performance benchmarks, and user reviews to make informed decisions.
2.Selecting the Right Components:
a. CPU: Compare the latest processors from Intel and AMD, considering factors like core count, clock speed, and cache size. Determine if you’ll require overclocking capabilities.
b. Graphics Card: Look for a GPU that can handle the latest games at your desired resolution and frame rate. Consider VRAM, cooling solutions, and manufacturer options.
c. Motherboard: Choose a motherboard compatible with your CPU, offering necessary features like sufficient expansion slots, USB ports, and memory slots.
d. RAM: Determine the amount of RAM you’ll need based on your gaming requirements and preferred multitasking. Look for high-speed and low-latency options.
e. Storage: Decide between solid-state drives (SSDs) for faster load times or traditional hard disk drives (HDDs) for higher storage capacity. Consider a combination of both for optimal performance and storage space.
f. Power Supply: Select a power supply unit (PSU) with enough wattage to handle your components. Look for efficiency ratings and modular designs for easy cable management.
g. Case: Choose a case that accommodates your chosen components and offers proper airflow, cable management, and aesthetics.
3.Assembly:
a. Preparing the Case: i. Start by ensuring that you have a clean and well-organized workspace. Lay out all the necessary tools and components. ii. Install standoffs: Place the standoffs in the designated screw holes on the case’s motherboard tray. These standoffs help elevate the motherboard to prevent it from touching the case and causing a short circuit. iii. Align the I/O shield: Locate the I/O shield that came with your motherboard. Align it with the rectangular cutout on the back of the case. Apply gentle pressure until it snaps into place.
b. Mounting the Components: i. CPU installation: Carefully remove the CPU socket cover on the motherboard. Align the notches on the CPU with those on the socket and gently place it in. Close the retention arm to secure the CPU in place. ii. CPU cooler installation: Apply a small pea-sized amount of thermal paste on the center of the CPU. Mount the CPU cooler according to the manufacturer’s instructions. This may involve attaching brackets, securing the cooler with screws, or connecting it to the CPU fan header on the motherboard. iii. RAM installation: Refer to your motherboard’s manual to determine the appropriate slots for RAM installation. Unlock the RAM slots by pushing the tabs outward. Insert the RAM sticks into the slots, ensuring that the notch on the RAM module aligns with the slot’s key. Press down firmly until the tabs on the slot click into place, securing the RAM. iv. Graphics card installation: Locate the PCIe x16 slot on the motherboard and remove the corresponding slot cover on the case. Align the graphics card’s gold connectors with the PCIe slot and gently press it down until it is fully seated. Secure the graphics card using screws on the back of the case. v. Storage drive installation: Depending on the type of storage drive (SSD or HDD), attach it to a 2.5″ or 3.5″ drive bay or mounting bracket in the case. Secure the drive with screws or a tool-less mounting mechanism. vi. Additional component installation: Install any additional components such as Wi-Fi cards, sound cards, or expansion cards into their respective slots on the motherboard, following the manufacturer’s instructions.
c. Connecting Cables: i. Power supply connections: Connect the main 24-pin power cable from the power supply to the corresponding motherboard socket. Attach the 4 or 8-pin CPU power connector to its designated socket on the motherboard. ii. SATA connections: Connect SATA data cables from the storage drives to the SATA ports on the motherboard. Connect the SATA power cables from the power supply to the storage drives. iii. Front panel connectors: Connect the cables from the case’s front panel (power button, reset button, power LED, etc.) to the corresponding pins on the motherboard, referring to the motherboard manual for the pin layout. iv. Case fan connections: Connect the case fans to the appropriate fan headers on the motherboard or a fan controller, if available. v. USB and audio connections: Connect the front panel USB and audio connectors to the corresponding headers on the motherboard.
d. Cooling and Cable Management: i. Install case fans: If your case came with additional case fans, install them in designated positions for optimal airflow. Secure them using screws or a tool-less mechanism. ii. Cable management: Organize the cables neatly to ensure good airflow and aesthetics. Use cable ties or Velcro straps to secure and bundle cables together. Route cables behind the motherboard tray or through designated cable management cutouts in the case.
e. Final Checks: i. Double-check all connections: Ensure that all cables, components, and connectors are properly seated and secured. ii. Secure loose components: Make sure that the CPU cooler, graphics card, and other components are tightly secured and not wobbling or sagging. iii. Inspect for any potential issues: Check for any loose screws or metal objects that may cause a short circuit. Ensure that no cables are obstructing fans or moving parts.
By following these steps, you’ll have successfully assembled the core components of your gaming PC. The next steps involve installing the operating system, drivers, and optimizing your system for performance.
4.Installing the Operating System and Drivers:
a. Prepare a bootable USB drive with your preferred operating system (e.g., Windows, Linux).
b. Boot from the USB and follow the installation instructions.
c. Install the necessary drivers for your components, including the motherboard, graphics card, and peripherals.
5.Testing and Optimization:
a. Power on the system and ensure all components are functioning correctly.
b. Update the operating system and drivers to the latest versions.
c. Run benchmark tests and stress tests to evaluate performance and stability.
d. Adjust system settings, such as overclocking the CPU or GPU, to optimize performance.
Building your own gaming PC can be a rewarding journey, allowing you to customize your machine to suit your specific needs and preferences. By following this comprehensive guide and conducting thorough research, you can create a high-performance gaming rig that provides an immersive gaming experience. Enjoy the process of building, testing, and optimizing your gaming PC, and be proud of your accomplishment as you enter the world of PC gaming. Happy gaming!
If You Want To Read “Tips for Extending the Lifespan of Your Laptop Battery”: